My colleague at itgroove Alec McCauley pointed out a quick tip that I had never noticed before.
When you take a screenshot or screen clipping using SnagIt and paste it into OneNote from the SnagIt Editor, if the image is wider than the visible OneNote screen area, OneNote will insert a smaller sized image. If you select the bottom right corner with your cursor and drag to enlarge it, the image will turn out pixelated.
To restore the image to its original size:
- Right click on the image
- Select Restore to Original Size from the menu.
Here’s an example:
See how a screenshot inserted on a OneNote page is 1/3 of the original size (compare its proportion to the page title for reference):

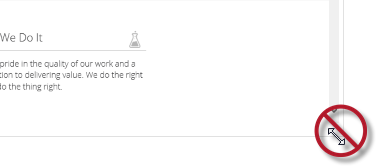
Stretching the image manually will create pixilation.

Right click on the image to select the Restore to Original Size function:

The screenshot will return to its correct dimensions:

Note: This works in OneNote 2013 and OneNote 2016. It does not work in the OneNote App or in OneNote Online.
The Restore Image to Original Size is missing on OneNote for Windows 10 when I right click on a photo. But it shows on OneNote app on Mac. Any suggestions? Thank you!