We use a tool called CrossBrowserTesting here at itgroove to verify that our websites are responsive. They have a Screenshots option where the tool will crawl through your site and take screenshots of it from all your desired resolutions, devices, and browsers. It’s pretty awesome.
In some scenarios, we’ve had to password protect some WordPress clients before launching their site, in a way that all site testers/users (i.e. the client) are able to view without logging in. For those situations, we’ve used a plugin that looks like the WordPress login field, except with no username – just a password.
CrossBrowserTesting requires both a username and password field to take screenshots of protected sites. You can see that this could land someone in a bit of a predicament!
I scratched my head, checked my browser’s dev tools for a solution, Googled, checked the CrossBrowserTesting support pages, spun my wheels a bit, then asked for help from our team. itgroove’s team lead, Alec – the genius that he is (in my eyes) – swooped in with a solution. I don’t know how he knew how to do this, but I do know that there isn’t a blog post out there about it yet.
Keep reading if you want to learn how to get screenshots in CrossBrowserTesting of a password protected site without a username.
First, you’re going to enter your site URL and click on Advanced Options.

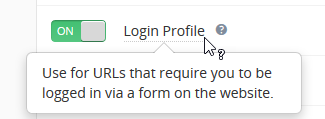
Now, toggle your Login Profile to “On” and create a new profile, or edit your existing profile.

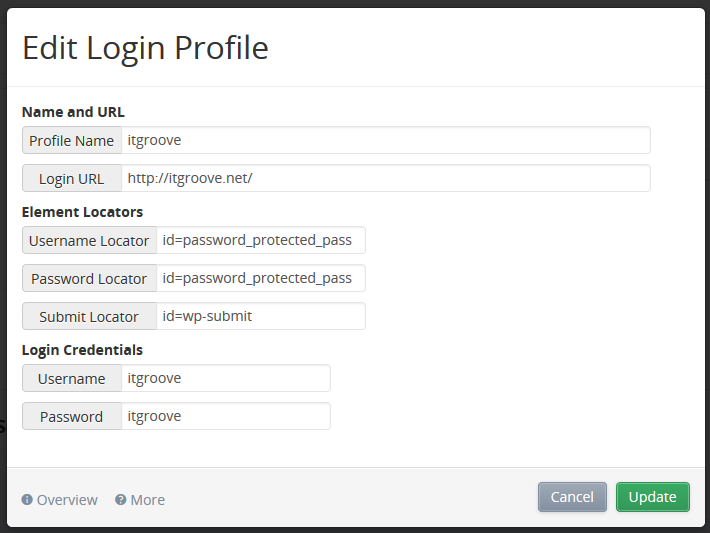
Enter the Password Locator into the Username Locator field, and then just put the Login Credentials in twice.

Voila. Your CrossBrowserTesting screenshots are working!
I should also mention that this is just dummy data for the blog post. itgroove.net is definitely a public website, but I wanted to show you how to do this without using a client example.